Since I started this blog to talk about how and why I do what I do, unvarnished and with all my bumps and bruises showing, I'm committed to telling you about the mistakes I make, too, and showing you the results of those mistakes.
It's been a long week. I started out all happy and shiny, and as I sit here and type this morning, I'm ready to set a match to the wet studio and take up stamp collecting.
So, let's get started.
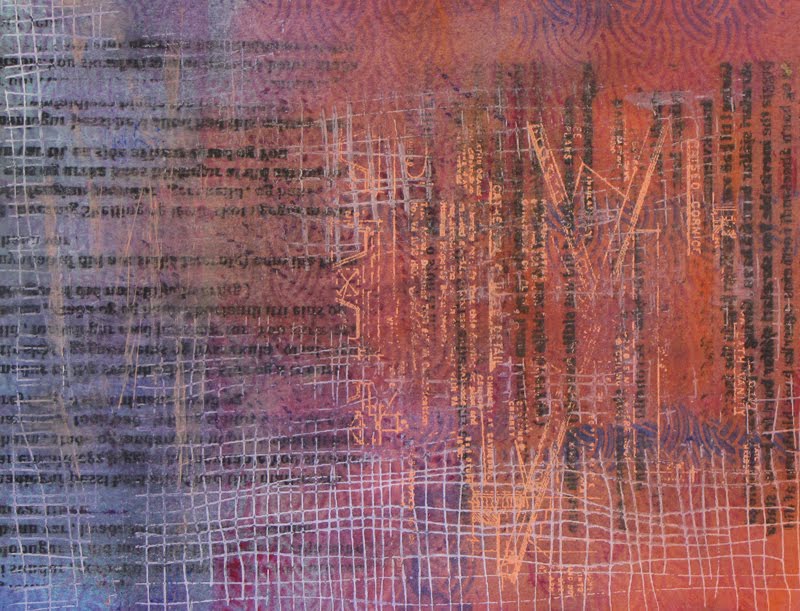
This piece...
... started life as a 3 yard length of black cotton. I batiked it with soy wax and then discharged it with bleach. So far, so good. I had soaked it in vinegar to neutralize the bleach, then decided after the final rinse-out that I would go ahead and use anti-chlor, too. By the time it had been through the wash after the anti-chlor, the rusty-yellow color was pretty faded, so I gave it an over-dye in carmine red and chocolate brown.
It was a crappy dye job. The carmine red did fine and gave the piece a darker value, but the brown collected mostly at the edges of the fabric in big, ugly splotches.
In order to try and save the piece and bring some unity to it, I decided to screen a pattern all over it.
I created a stencil on one of my screens using strips of clear contact paper.
Then I thickened up some brown rose dye and went to town with it all over the fabric.
I loved, loved, loved the look that screen gave me, and will very likely repeat the same kind of pattern again on future screens.
Only now, I can't get the alginate out. It's stuck in there but good.
Last week I charged the rest of my screens with thickened dyes to do some deconstructed screen printing this week. For two of the screens, I chose the three cool primaries- lemon yellow, magenta and turquoise- willing to risk the possibility of making mud in the hopes of getting great color mixtures. The third screen was charged with a combination of yellow and brown dyes.
To prepare these screens, I used a technique suggested in the book,
Breakdown Printing: New Dimensions for Texture and Colour by Claire Benn and Leslie Morgan. I poured the thickened dyes on top of the screen in puddles and then settled items down into the puddles to give the final screen some texture.
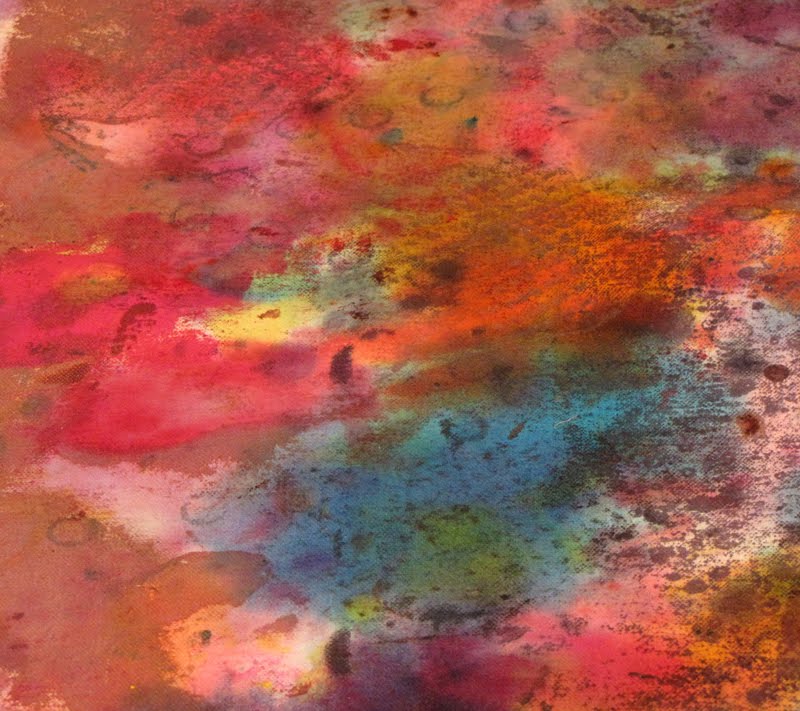
This is the project that contained the most mistakes and has yielded fabric that will need a LOT of aftercare (overdyeing, stamping, etc). Here it is at the moment, sitting in a bucket of rinse water while it waits for a different fabric to come out of the washing machine. Most of the dye has washed out, despite the fabric being soda-soaked previously. It now looks for all the world like a dropcloth.
My first mistake was, I think, getting the dyes too thick. As I was deconstructing them onto the fabric, the screens seemed to become glued to the fabric. I had to really yank at them to get them off and the thick puddles of dye often came off the screens and stuck to the fabric in large chunks. I was having such a hard time and was getting so discouraged, that I totally forgot to take pictures of the process. I fully intended to but only remembered after the fabric was already bundled in plastic to batch.
My next mistake was in using some sketchy items on the screens for texture. The idea is to use materials that will lift right off of the screen once it's dried- plastics, mostly. But instead of sticking strictly with plastics, I tried using some vinyl wallpaper scraps. They had fabulous texture on one side, but were paper-backed. Once the screens had dried, the papers behaved as if they'd been welded to the screens, and peeling them off was nearly impossible. I had also tried a scrunched up piece of wax paper for texture. Wow. I have no idea what the chemical reaction was, but the alginate broke down the paper and turned it into a slimy, stringy mess that I never was able to remove before screening.
My final mistake- and this one could have been a real screen-destroyer but fortunately wasn't- I got tired of waiting for the screens to dry so I put them outside in a shady spot. Of course, the sun actually
moves, doesn't it? By the time I brought them back into the house, they had been sitting in the sun for hours and the dyes had baked onto them.
I think it's time to take a live class in breakdown printing, because there's something I'm missing and it's giving me less-than-fun results more often than not.
The next oops is hanging on the line right now. It started out well enough, with a nice, simple batik pattern and some yellow dye.
It got another layer of batik and dye, this time in two shades of red.
I should have quit while I was ahead, and seriously thought about it, but what kind of artist am I if I won't take chances? So it got one more layer of batiking and another dye bath. In Gawd-Awful Retro Brown.
The 70's called, they want their curtains back. And yes, you're seeing that right- only half of it is speckled... the fabric had been folded and the wax I'd dripped onto it didn't go through both layers. This is an excellent candidate for discharge, or for lining the cat pan, I haven't decided which, yet. I'd be slamming my head on the desk right now, if I didn't already have a scorching headache.
It looks as if the only survivor out of the studio this week (and I can't count myself in that number), is this unassuming length of fabric.
It's hard to tell by this photo, but this fabric has been stamped many times with many different stamps (all hand-made, of course) in multiple colors of textile paint.
I used textile paints because I wanted to create a resist for the paint that would follow as I stain the background. Like this:
It's coming along nicely and will probably sit on my table for a few days while I tinker with it.
And finally, am I the only crazy person who looks at her dropcloth (that's been hard-used for a couple of years) and sees the potential for art?

Happy stamp collecting!